![]()
User Help
- User Help Home Page
-
 Quickstart User Guides
-
 Data Workflow User Guides
-
More Workflow User Guides
-
Other OMERO Applications
-
More

Getting Started with OMERO.insight
Introduction
OMERO stores image data on a central server. You can use the OMERO.insight client to upload, view and download data from any personal computer.
Your institution’s OMERO server administrator will provide you with the server address to use when connecting from OMERO.insight. They may have set up a user name and password for you too. Alternatively your username and password may be your standard login for the institution’s networked computers.
Installing
-
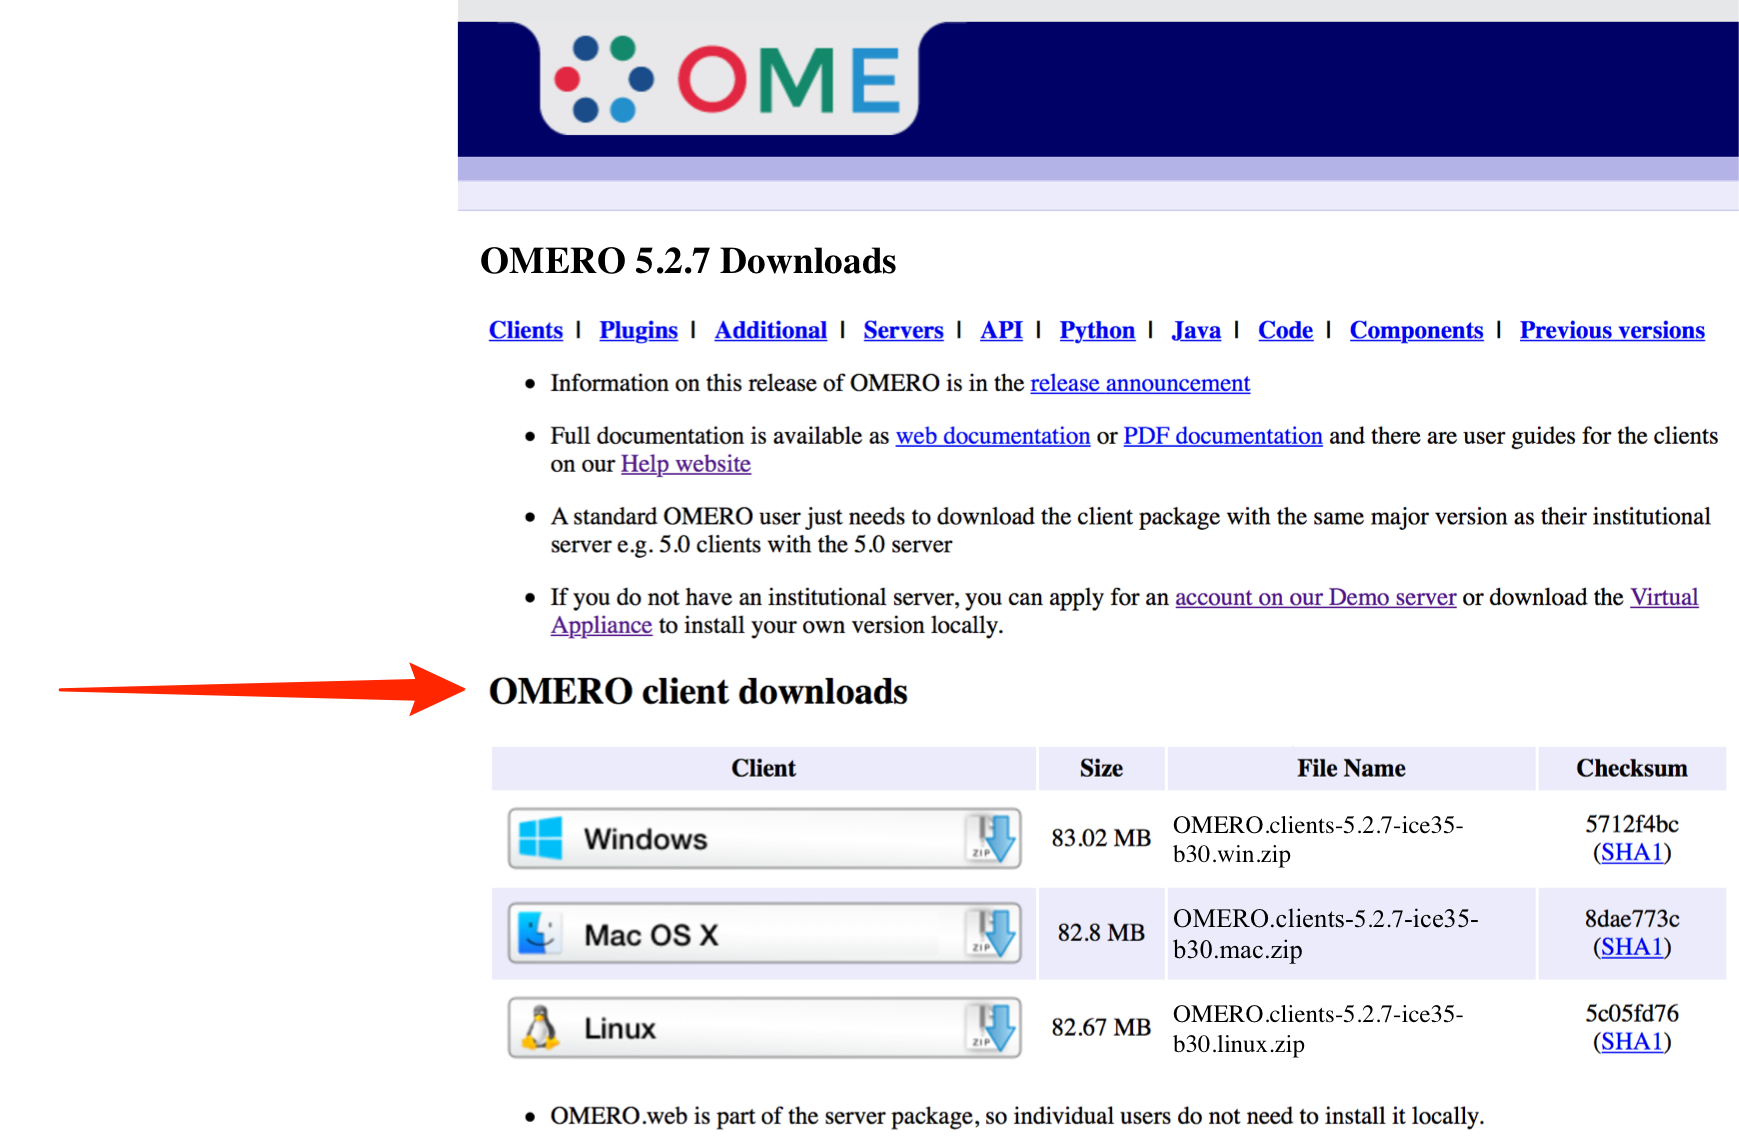
Download the OMERO.insight client at: http://downloads.openmicroscopy.org/latest/omero5
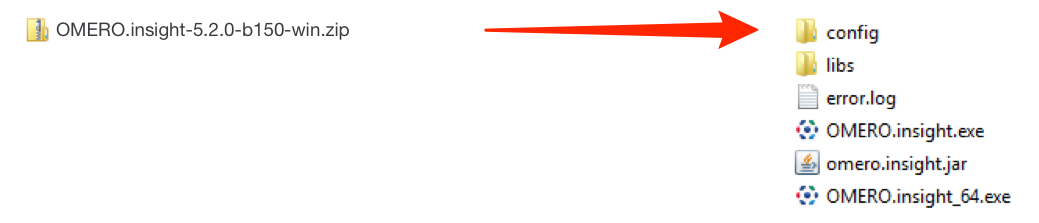
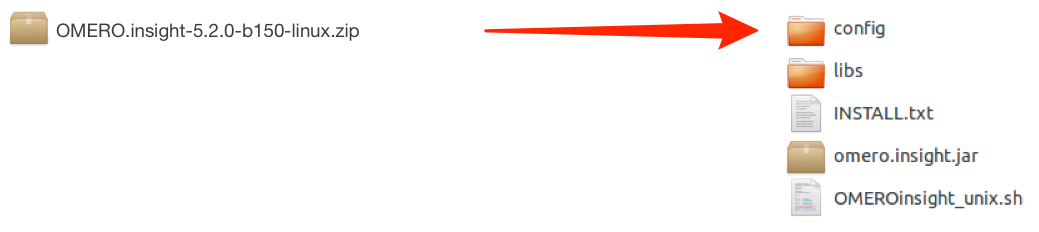
Expand OMERO.insight client archive and move it to your home directory.
Windows:
Mac OS X:

Linux:
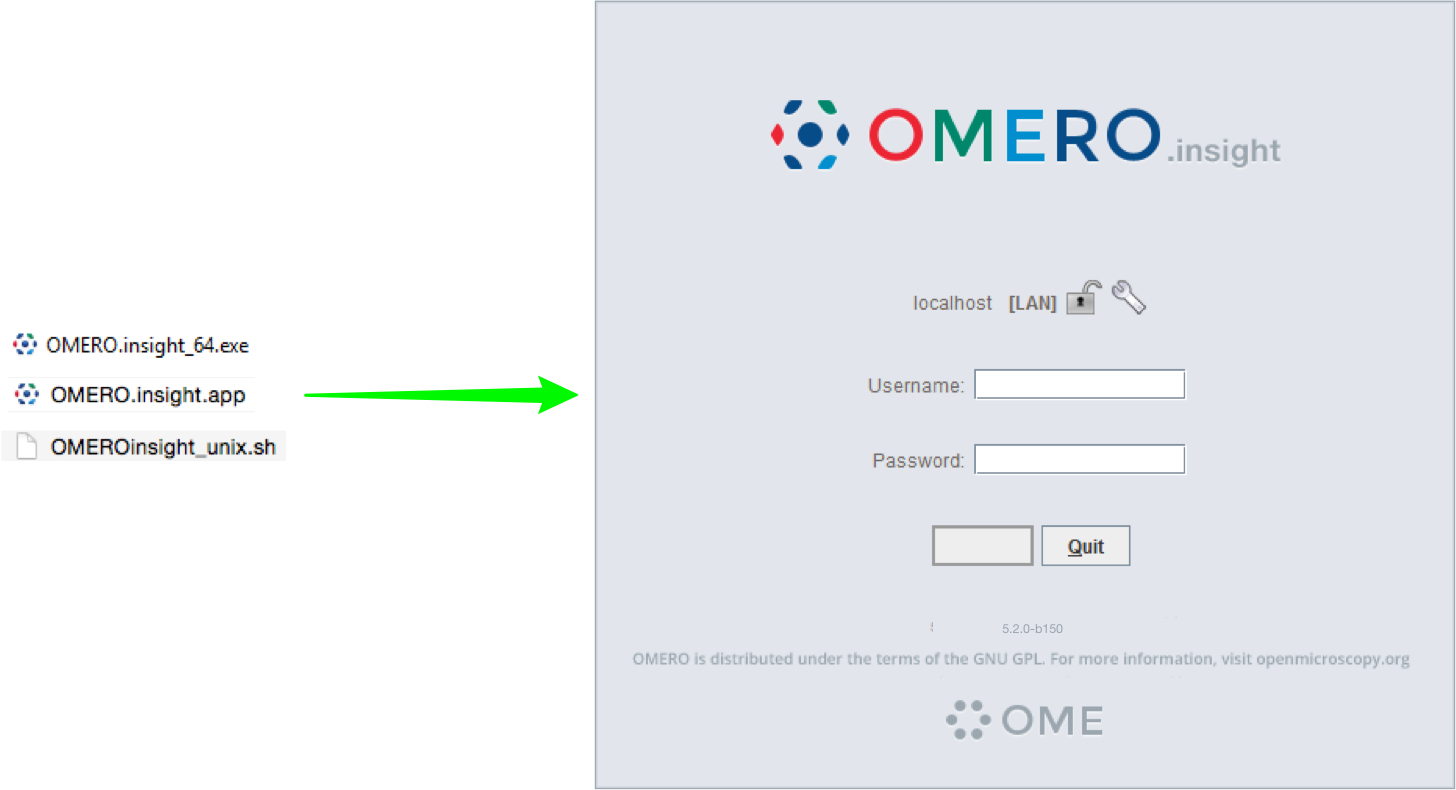
Open the OMERO.insight client.
Note
Mac users may be blocked by a warning that OMERO.insight has been prevented from opening as it is from an unidentified developer.
Follow these instructions to adjust the security settings so OMERO.insight can run on your Mac:

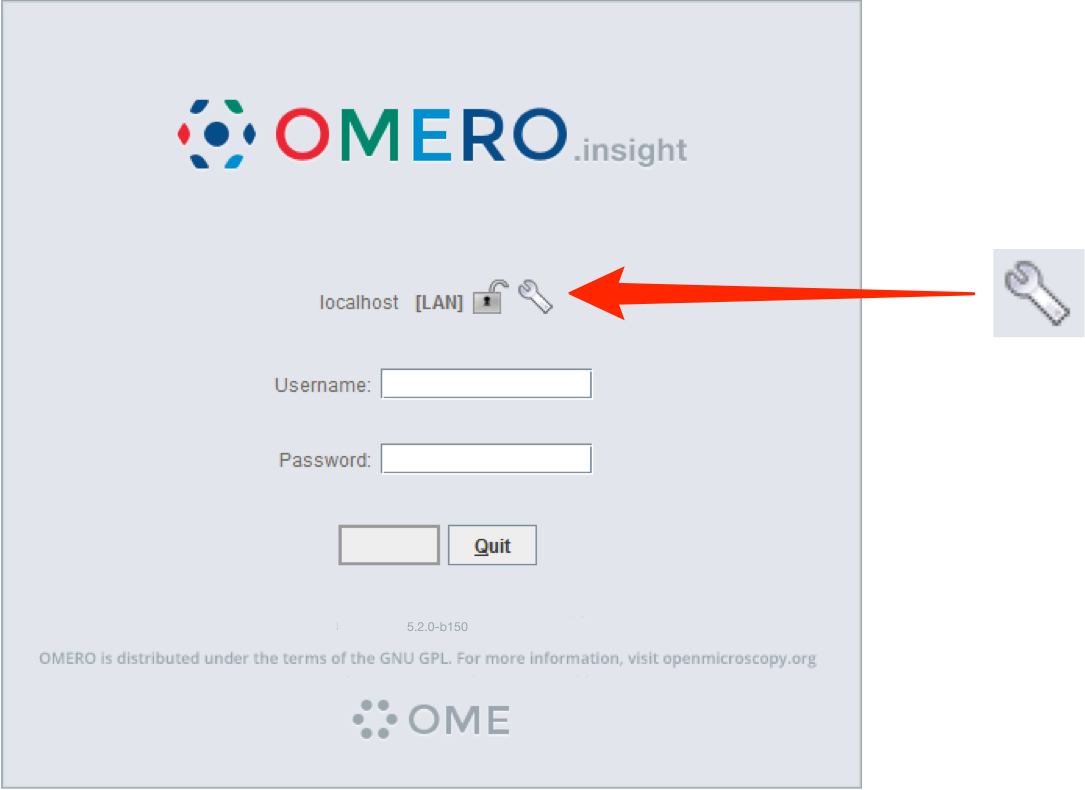
Adding server and logging in
Adding the server is only required the first time an OMERO server is accessed from the computer.
Click on the Spanner icon.
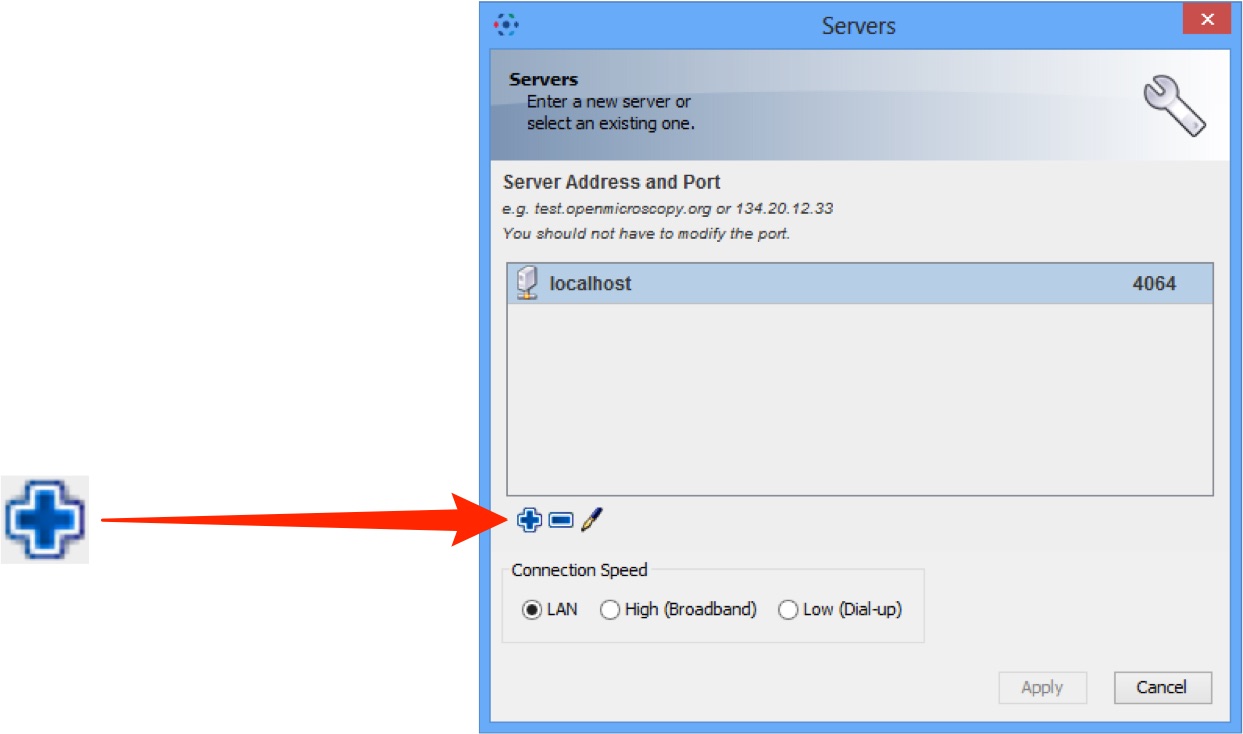
In the Add Server dialog box, click on the + icon.
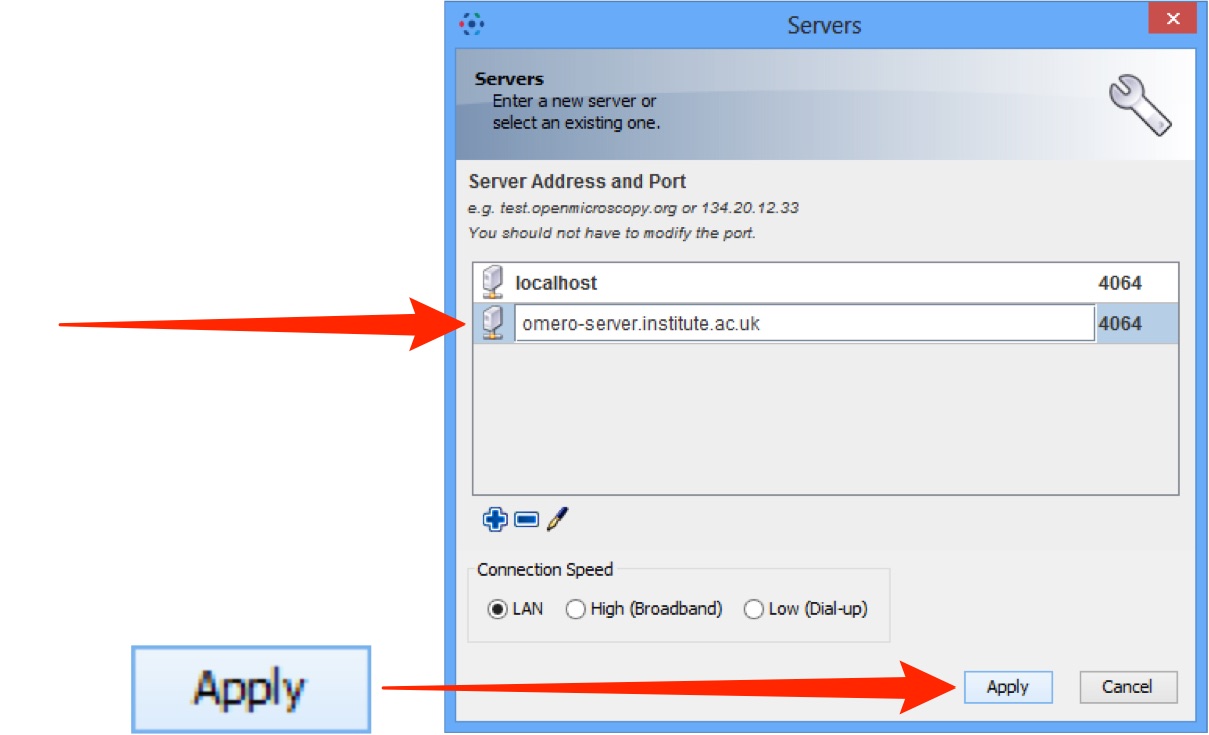
Enter the server address provided by your OMERO administrator.
Click on Apply.
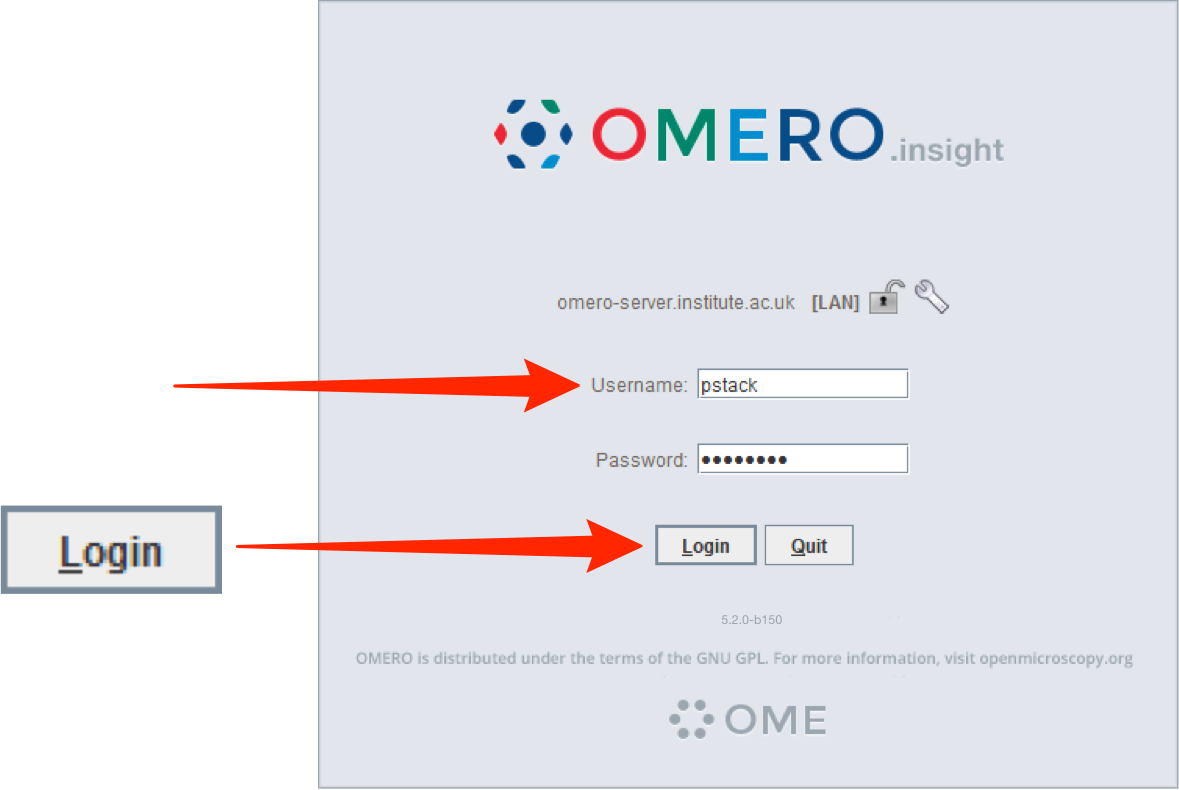
Enter the Username and Password provided by your OMERO administrator.
Click on Login.
Adding image data
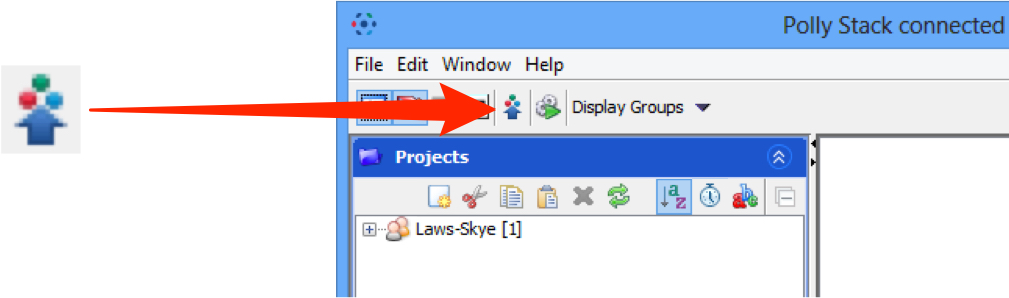
Click on the Importer icon.
Add image data using the File Chooser.
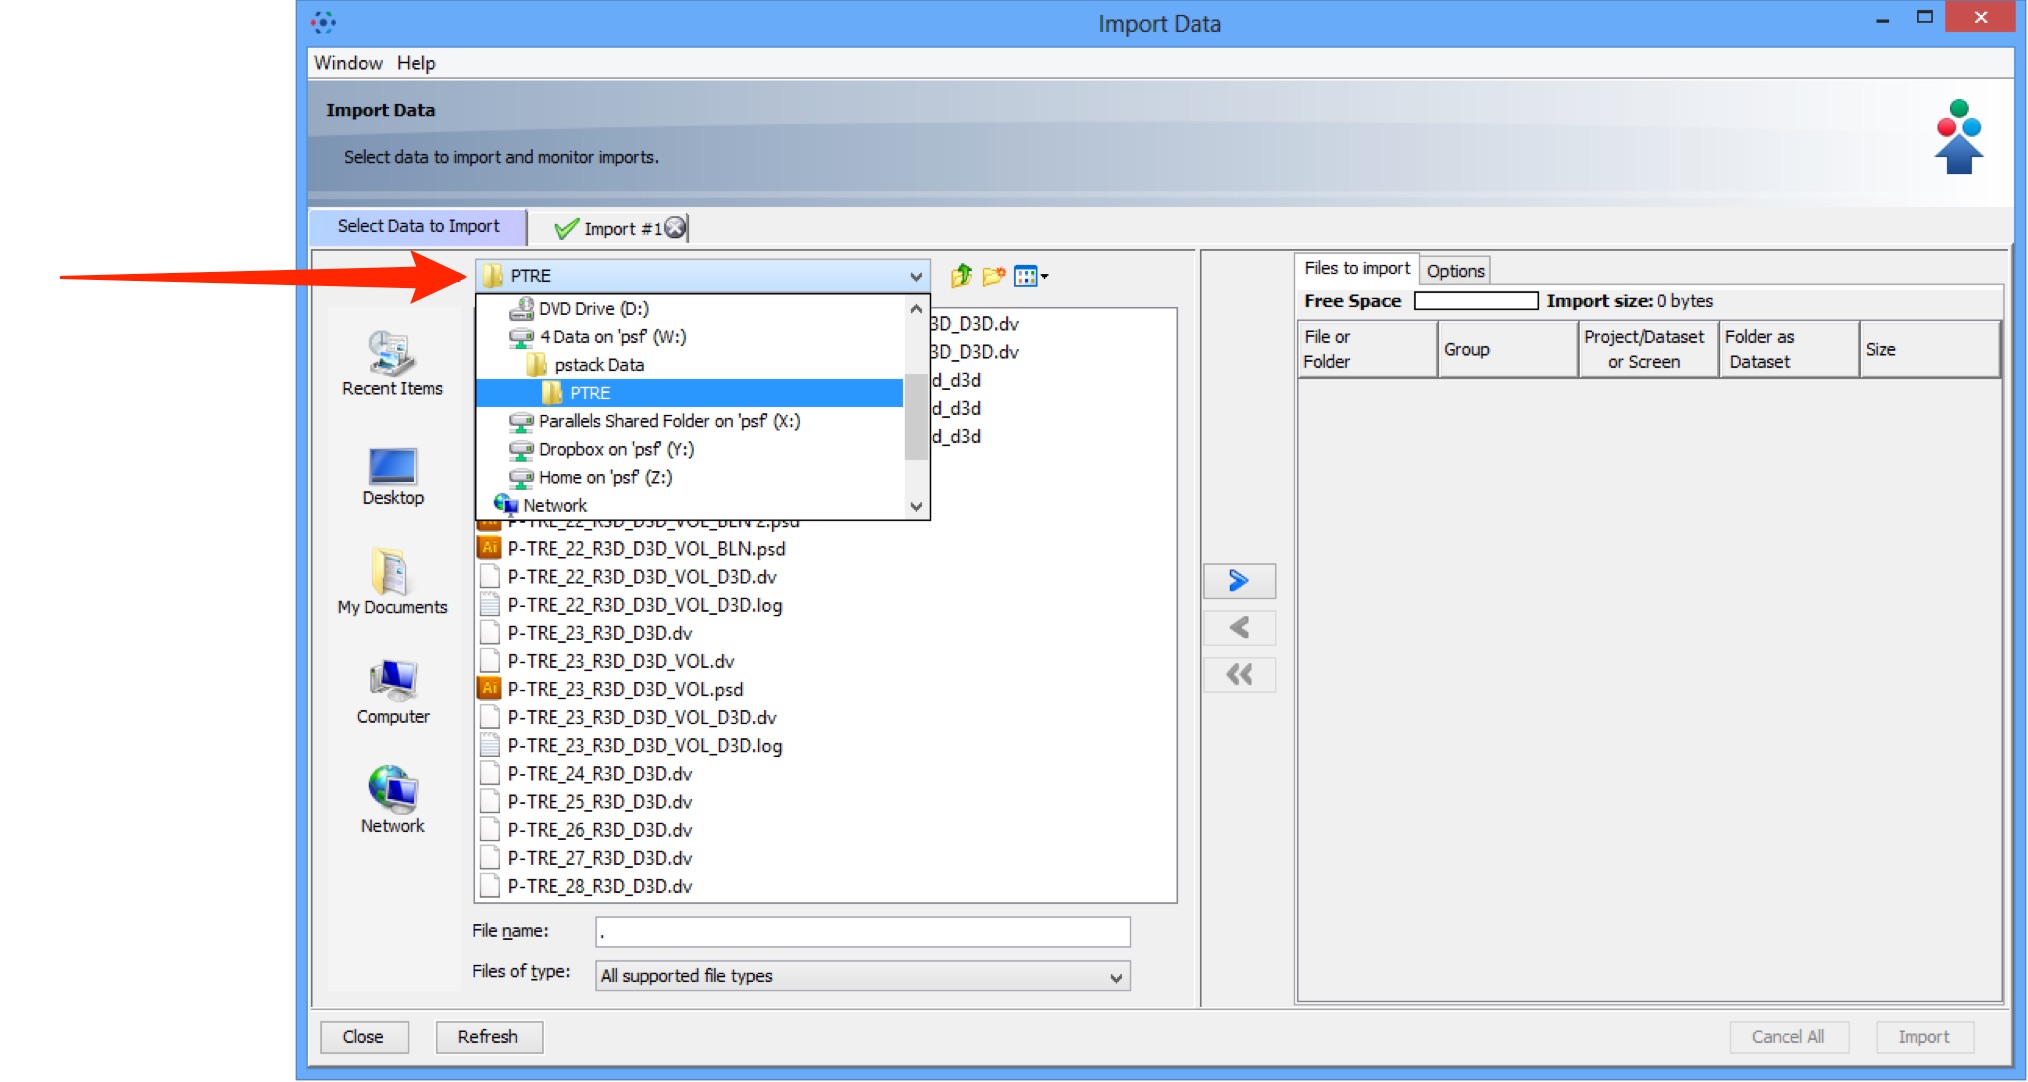
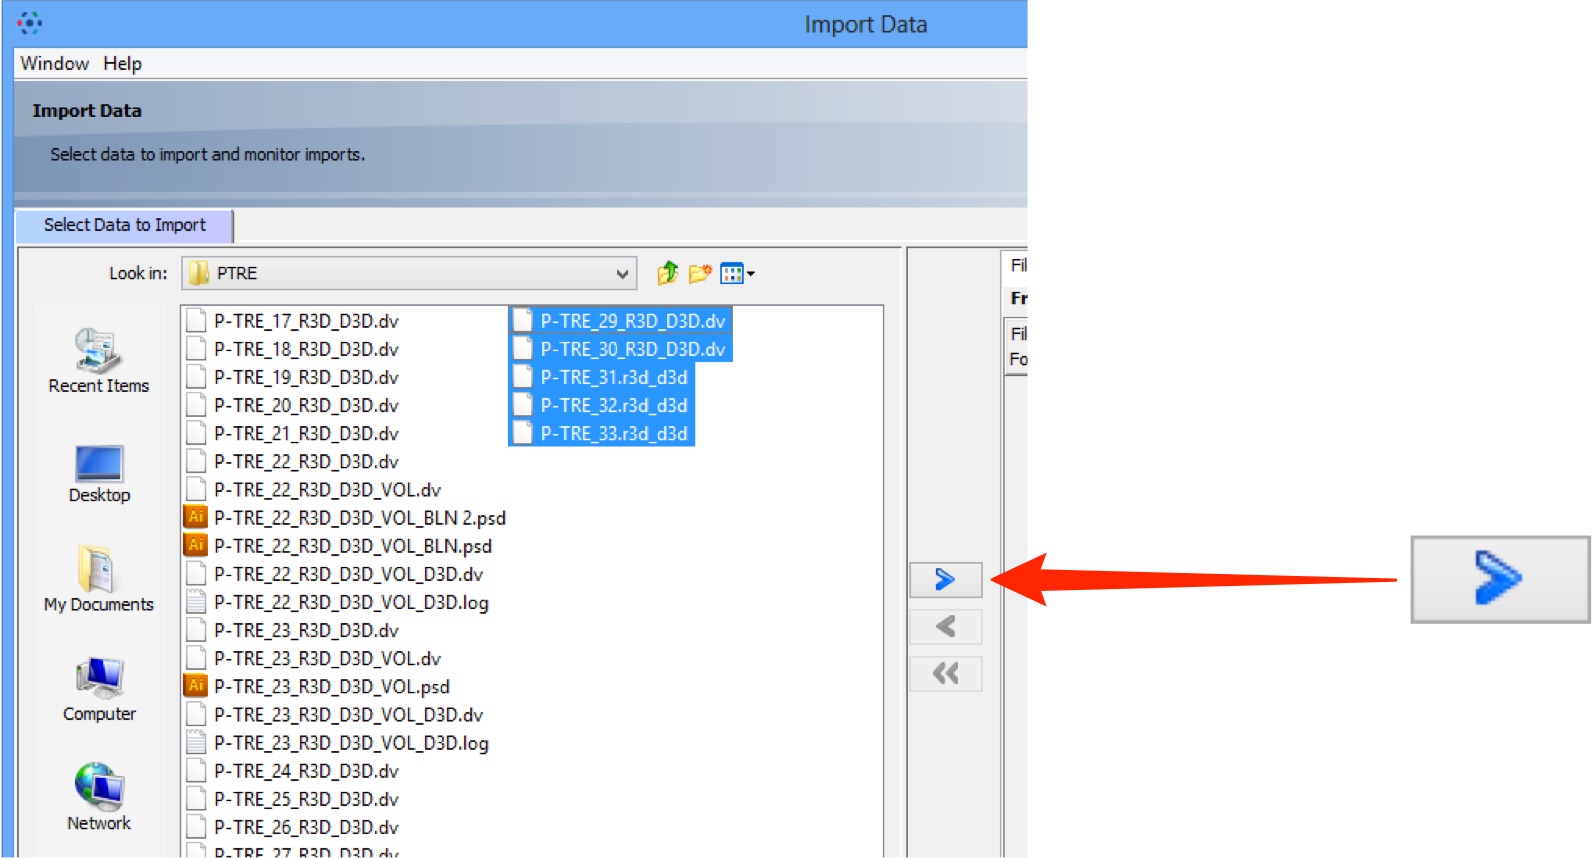
Select image data to be imported.
Click the right Add arrow.
Specify a location for saving imported data:
- select a group if you are a member of more than one
- a new project and/or dataset can be created
- an existing project and/or dataset can be selected from the drop-downs
- a new dataset can be automatically created from the source folder
- click Add to the Queue

Data to be imported appears in queue pane.
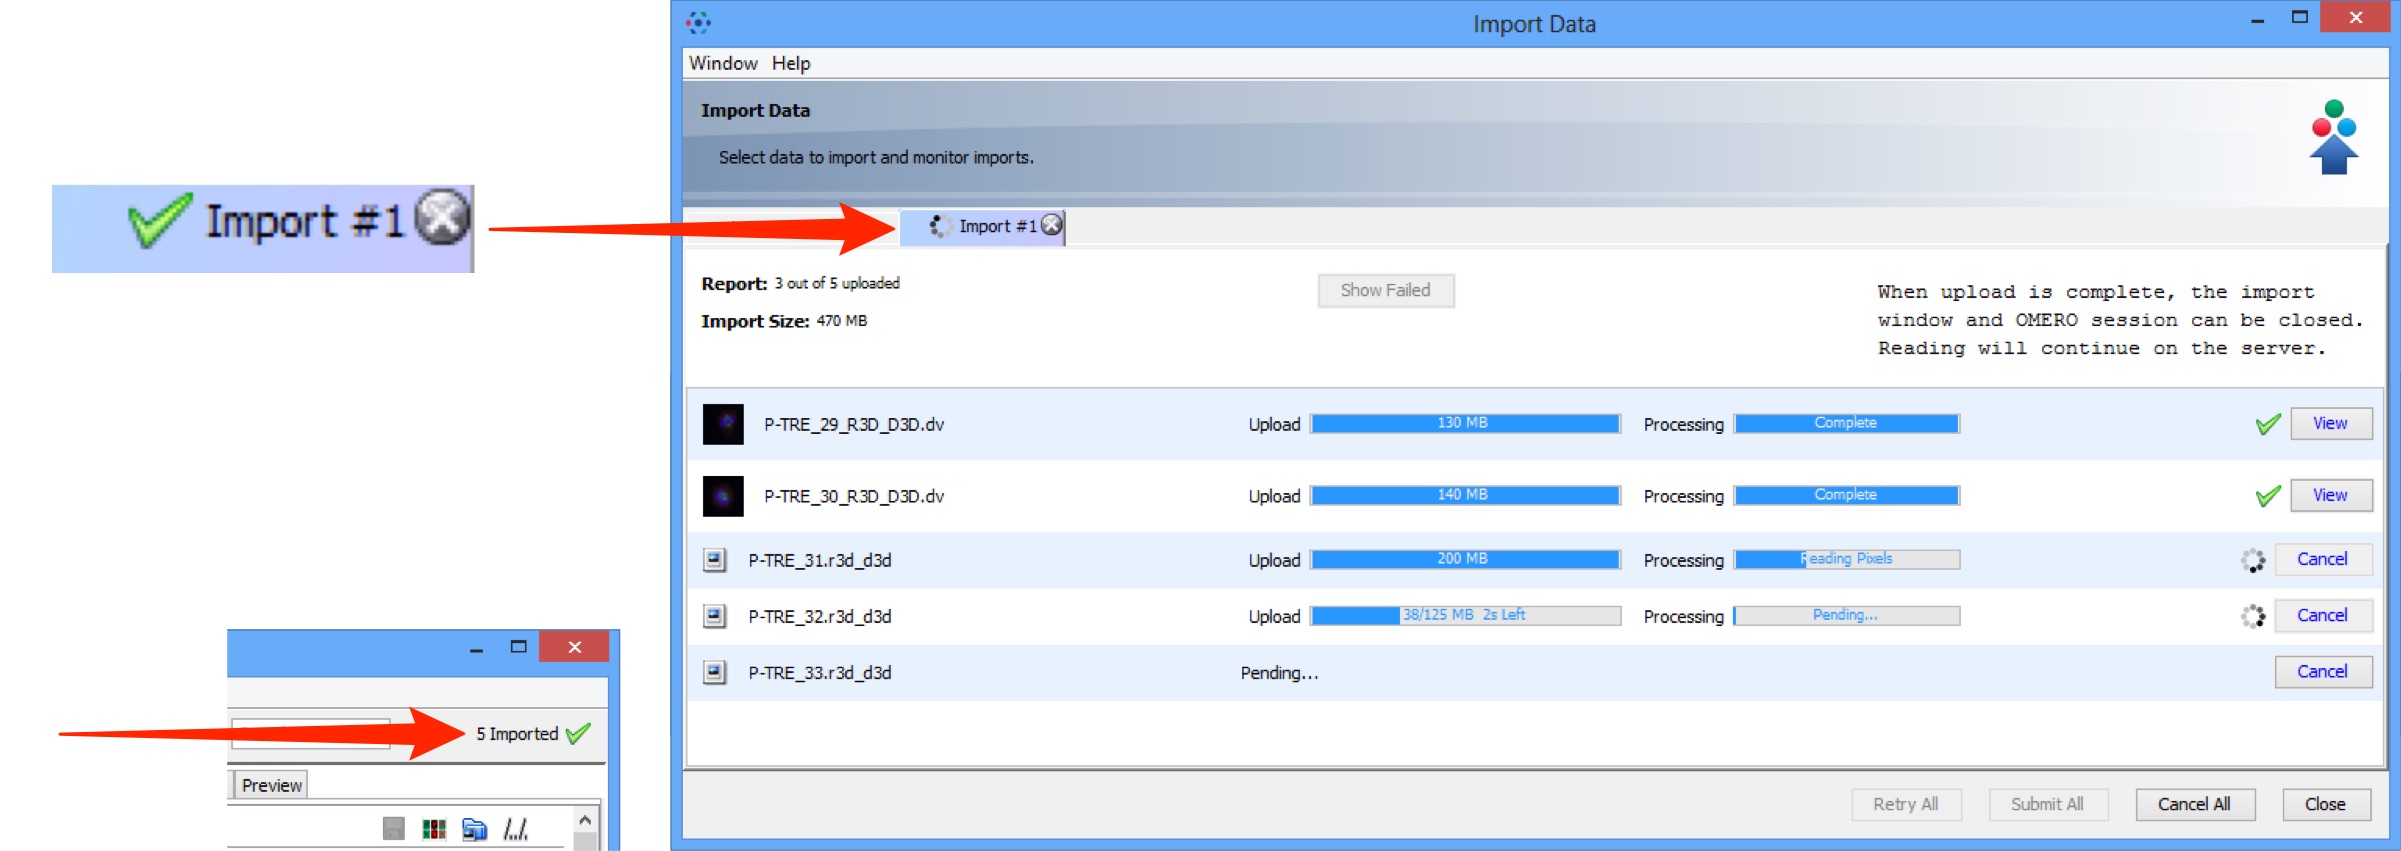
When ready click on Import.

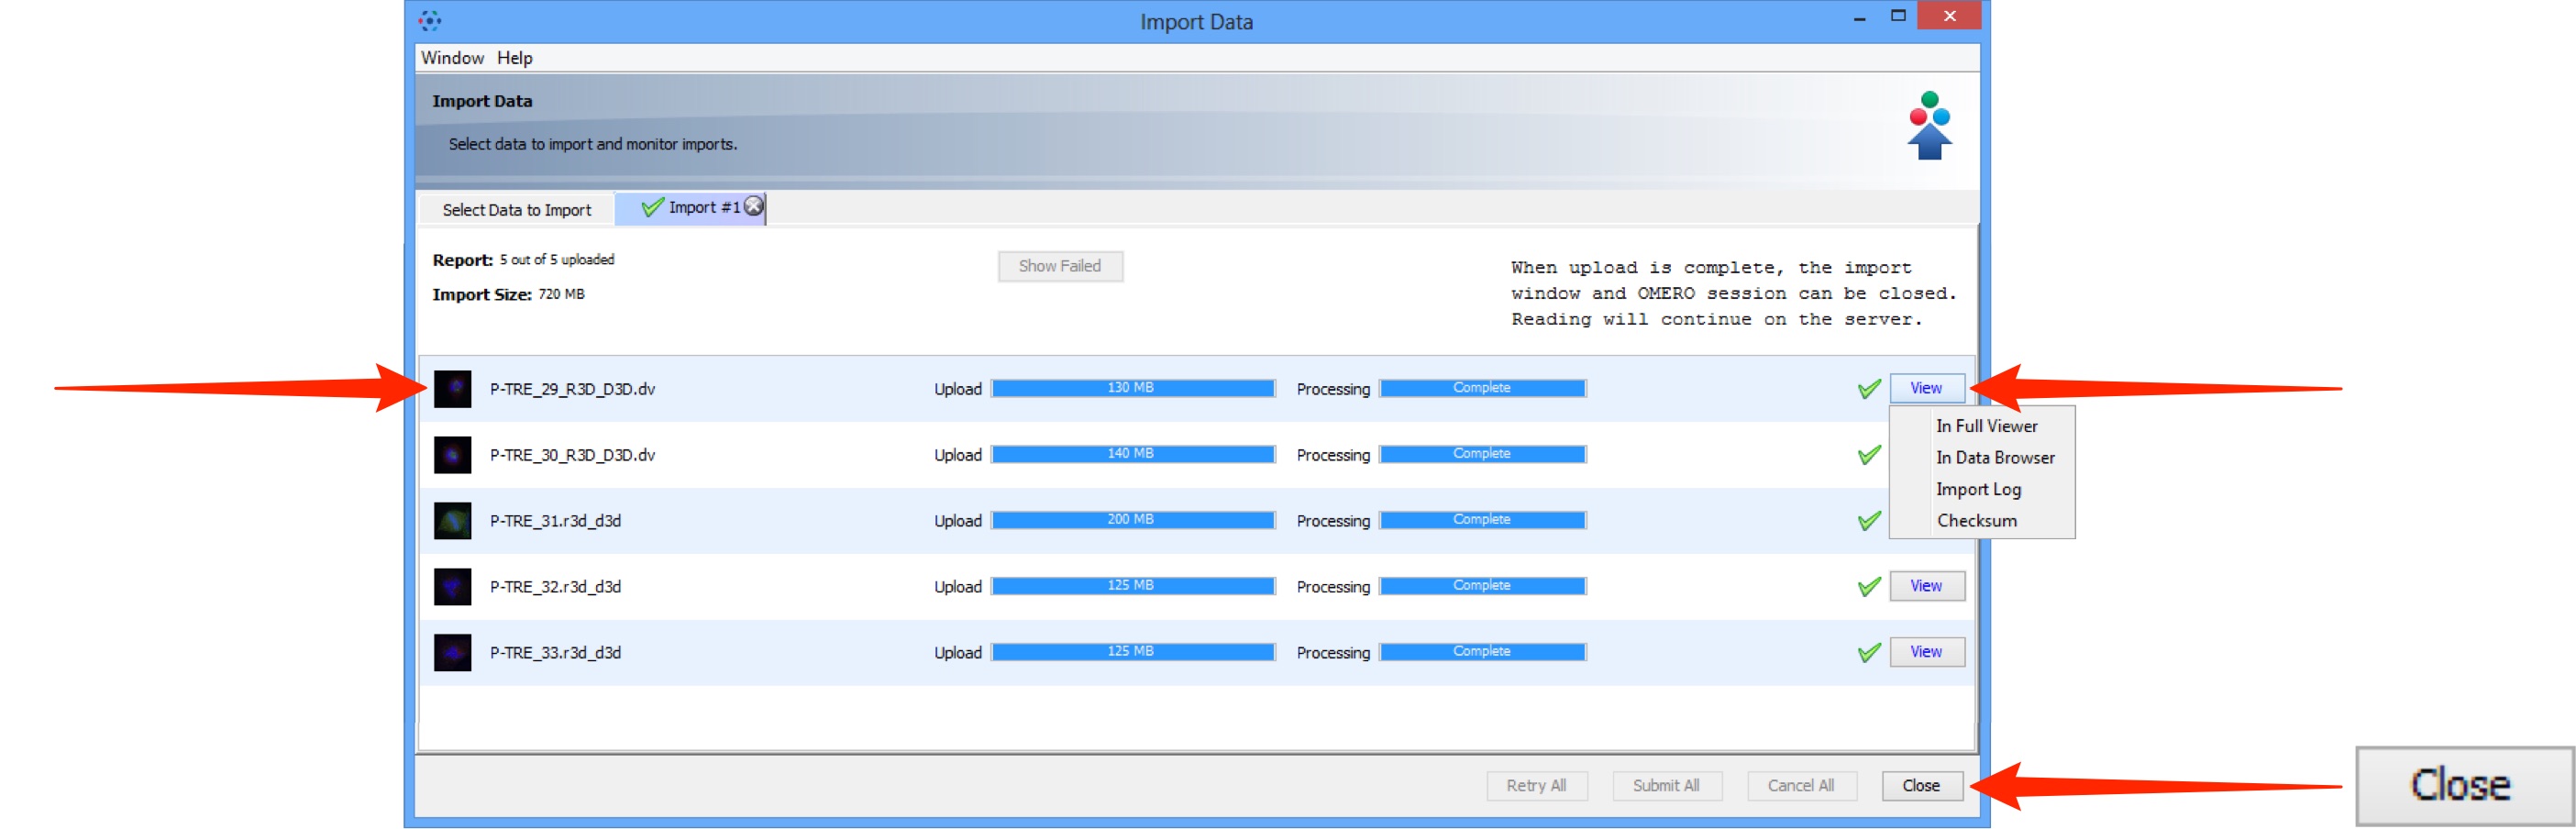
Import progress will be shown in the Import # 1 tab.
Further data for import can be queued and imported using the Select Data to Import tab.
Multiple queues can be run simultaneously.
A green check is shown in the import tab and in the top right corner of the main Data Manager window when the queue is successfully imported.
Double-click on the thumbnail or select from the View menu to open the image in the full viewer.
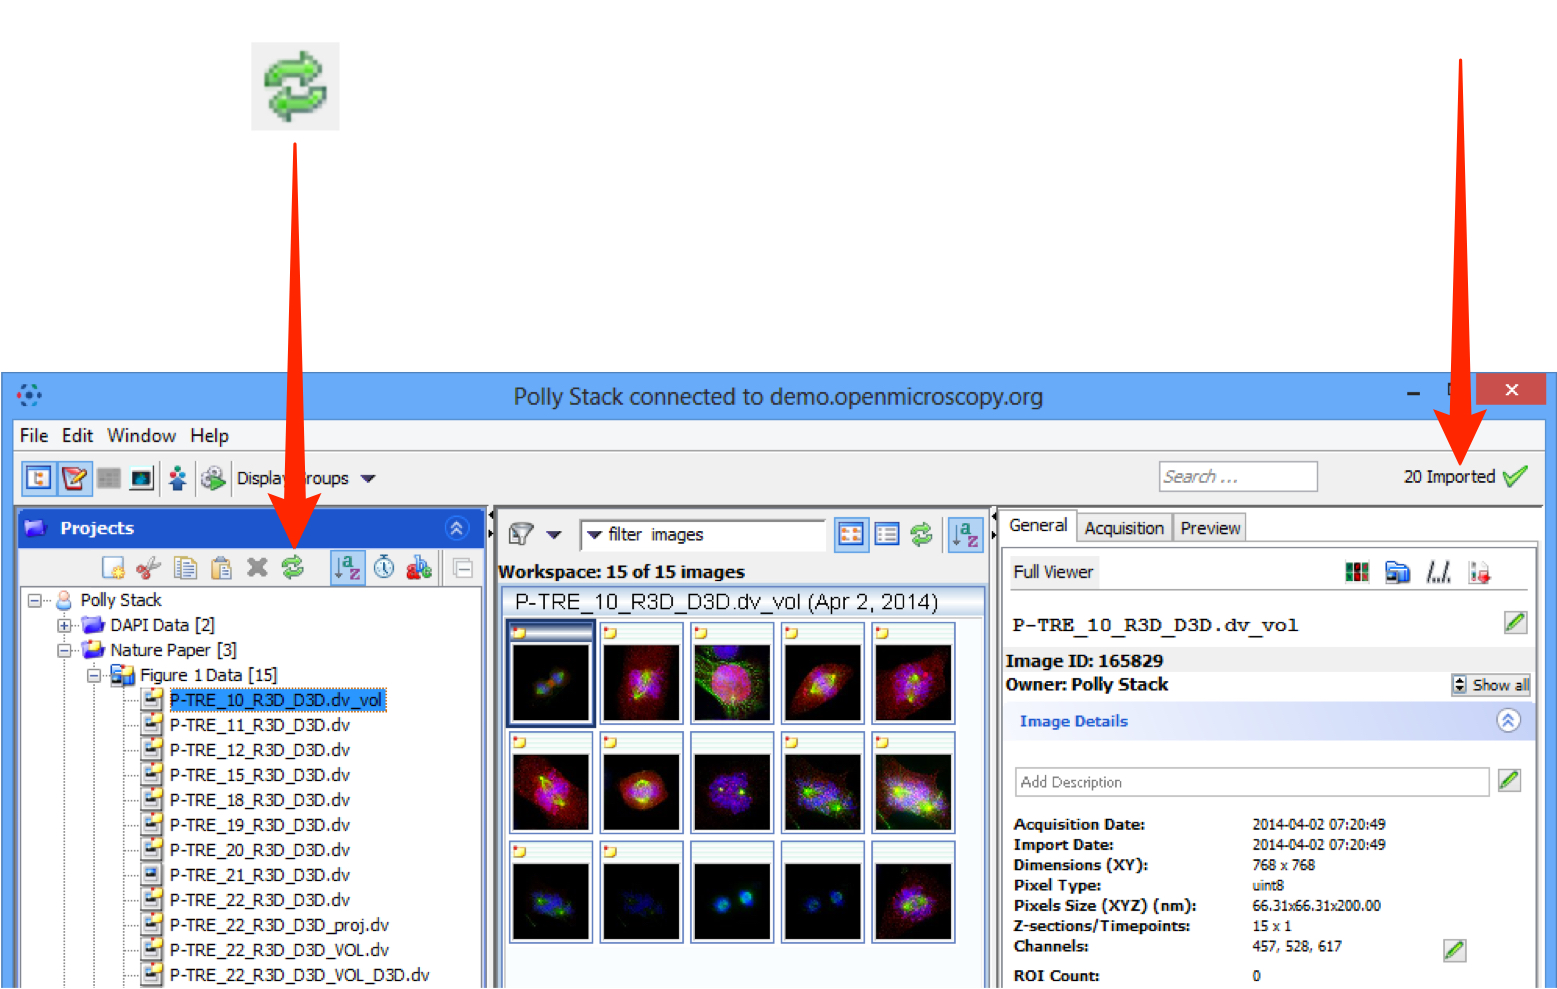
Click the Refresh button to see the imported data in the data manager.
Import progress is shown by a green tick on the right-hand side of the data manager window toolbar.
Notifications of any import failure will also appear there with a red X.
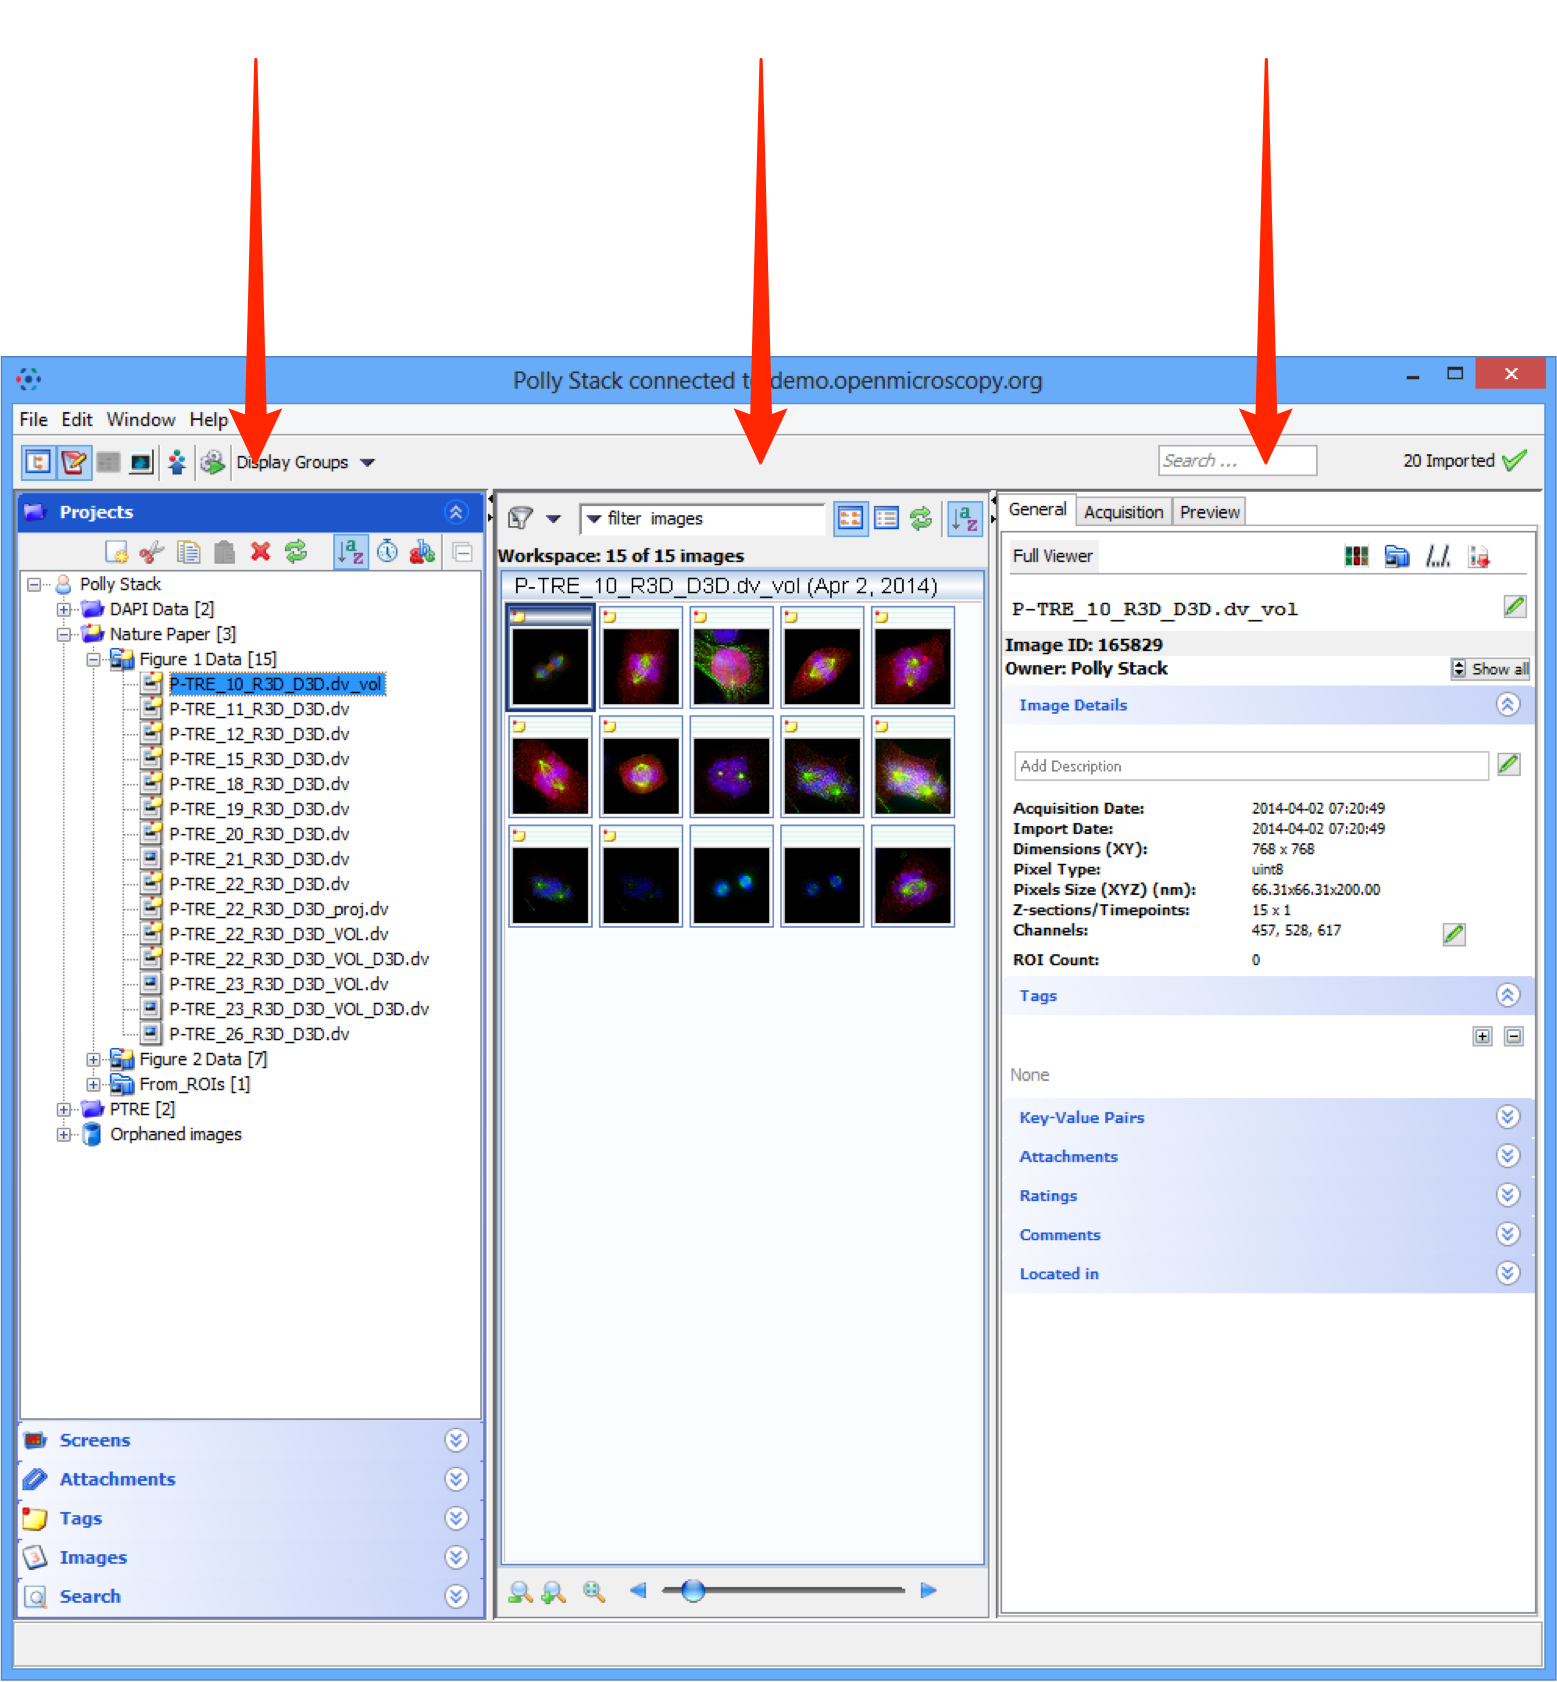
Viewing image data
The Data Manager window is divided into 3 panes:
- the left hand pane shows the data tree and tabs for screens, attachments, tags and search
- the centre pane shows thumbnails and enables filtering of images
- the right hand pane shows the general information, metadata and the preview
Double click the image name or thumbnail to open an image in the full viewer or click on the image viewer icon.

The image viewer enables you to change rendering settings.
Hide / show rendering settings pane.
Toggle between colour and monochrome rendering.
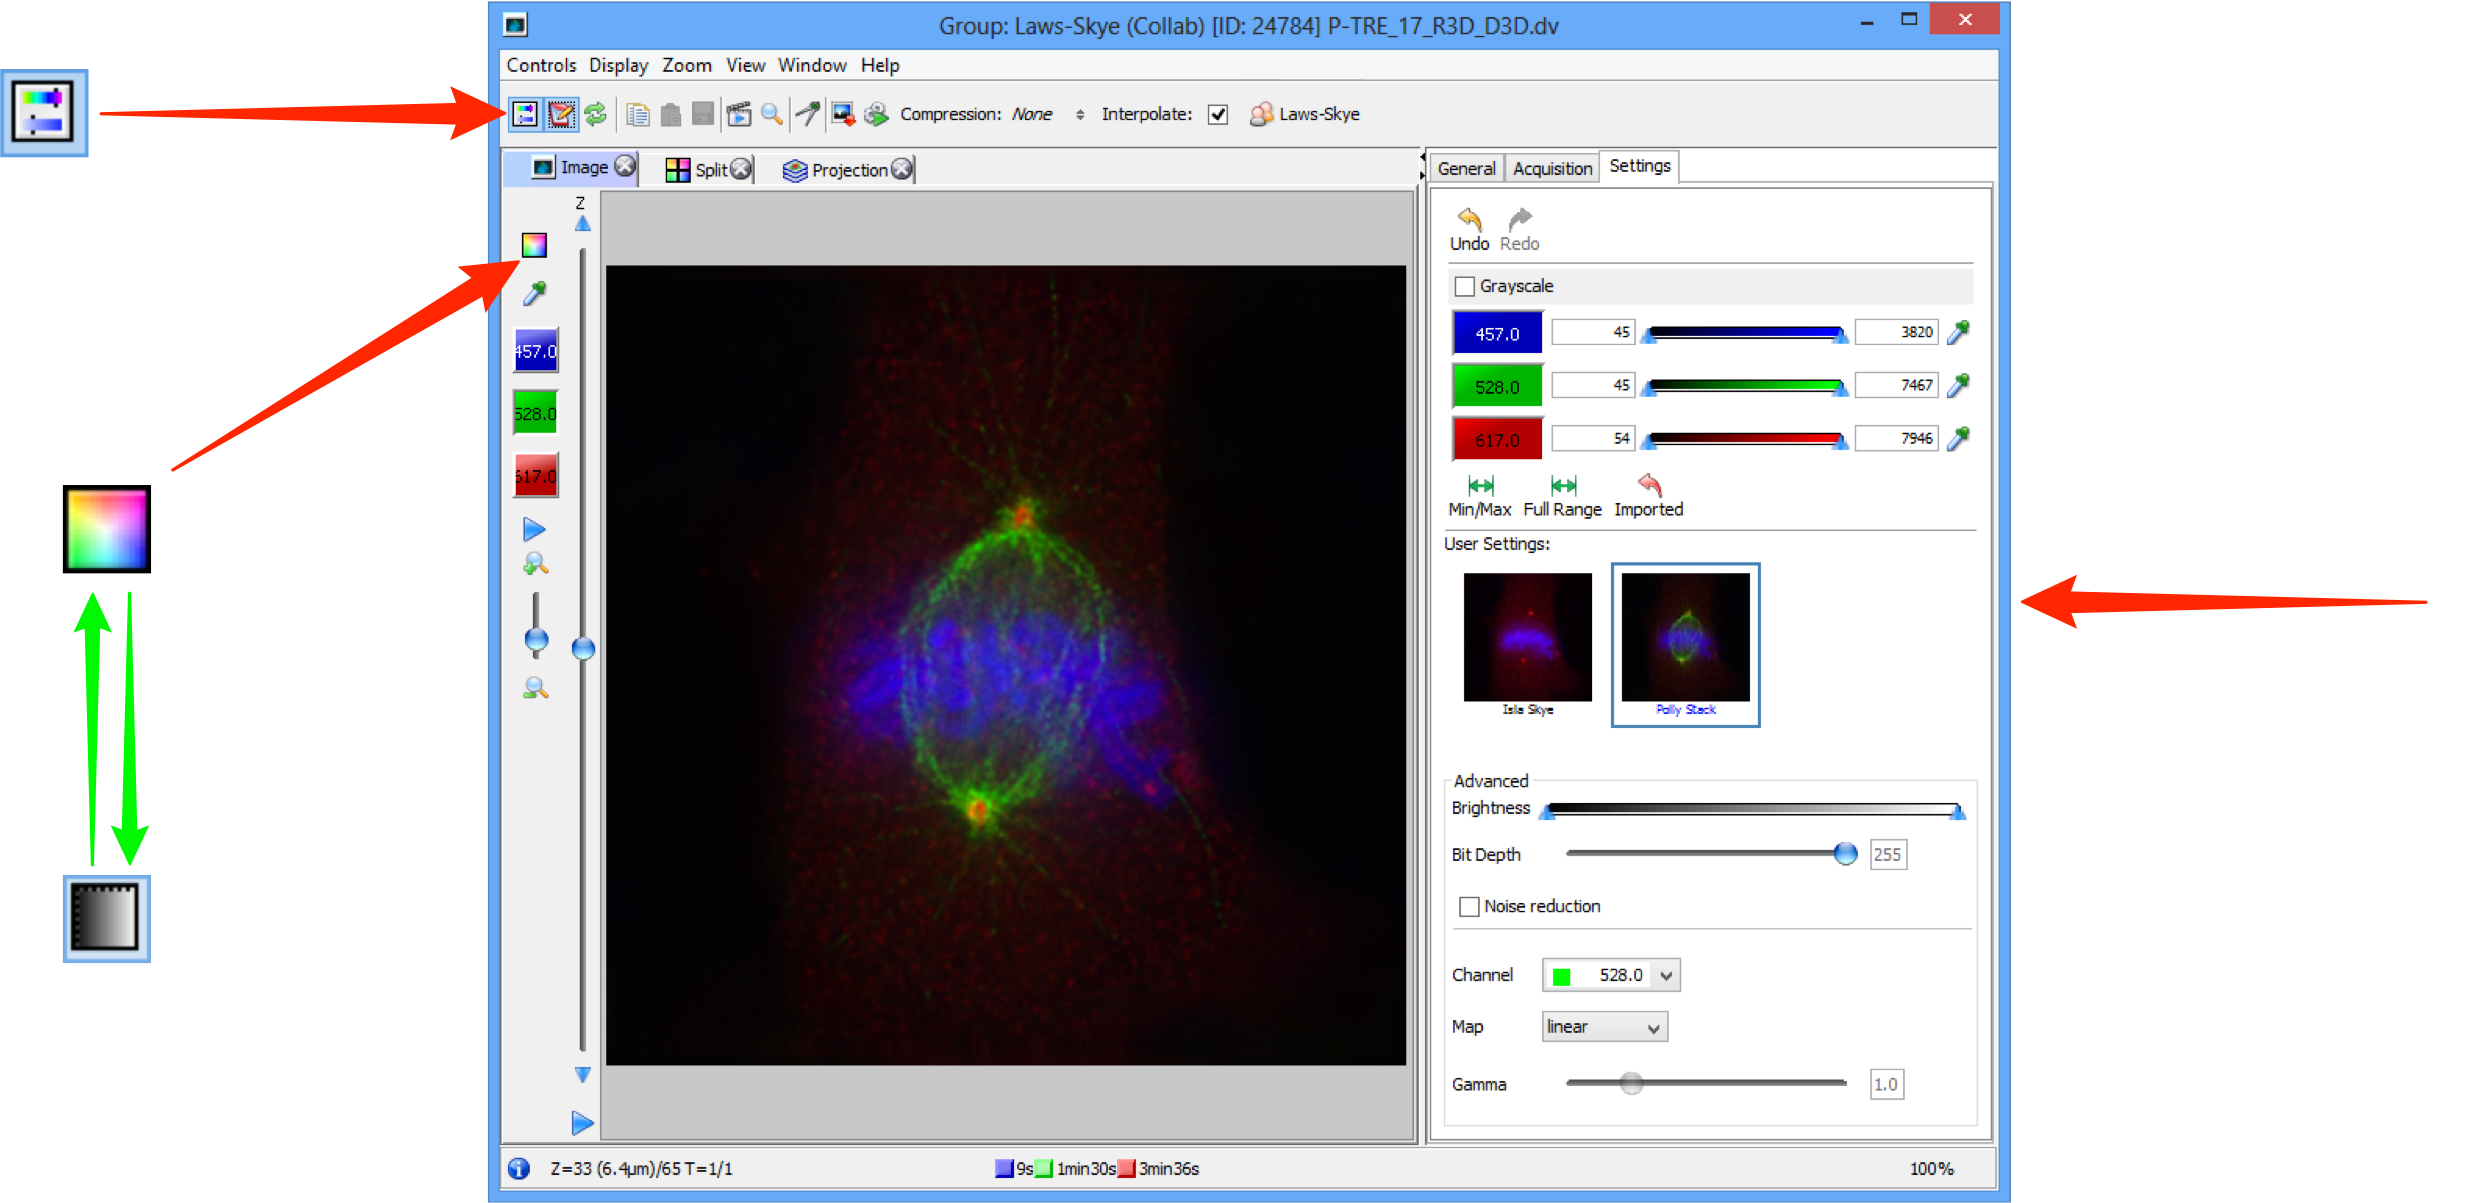
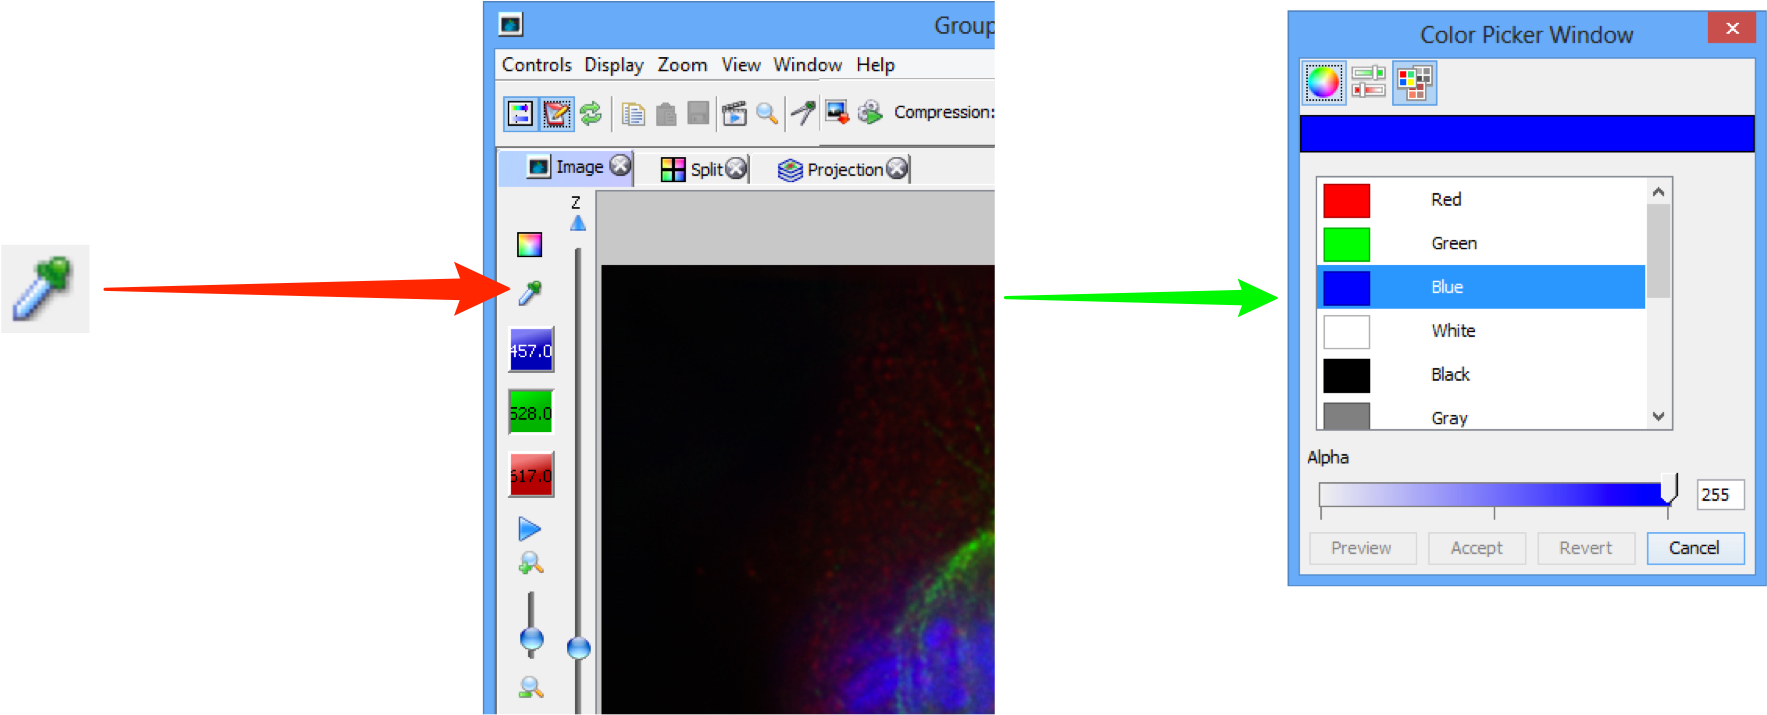
Click the colour picker to open the colour picker window.
This is used to change the colour rendering for a channel.
Clicking the colour well toggles the channel on or off.
Click on Metadata button to view the metadata in the right pane.

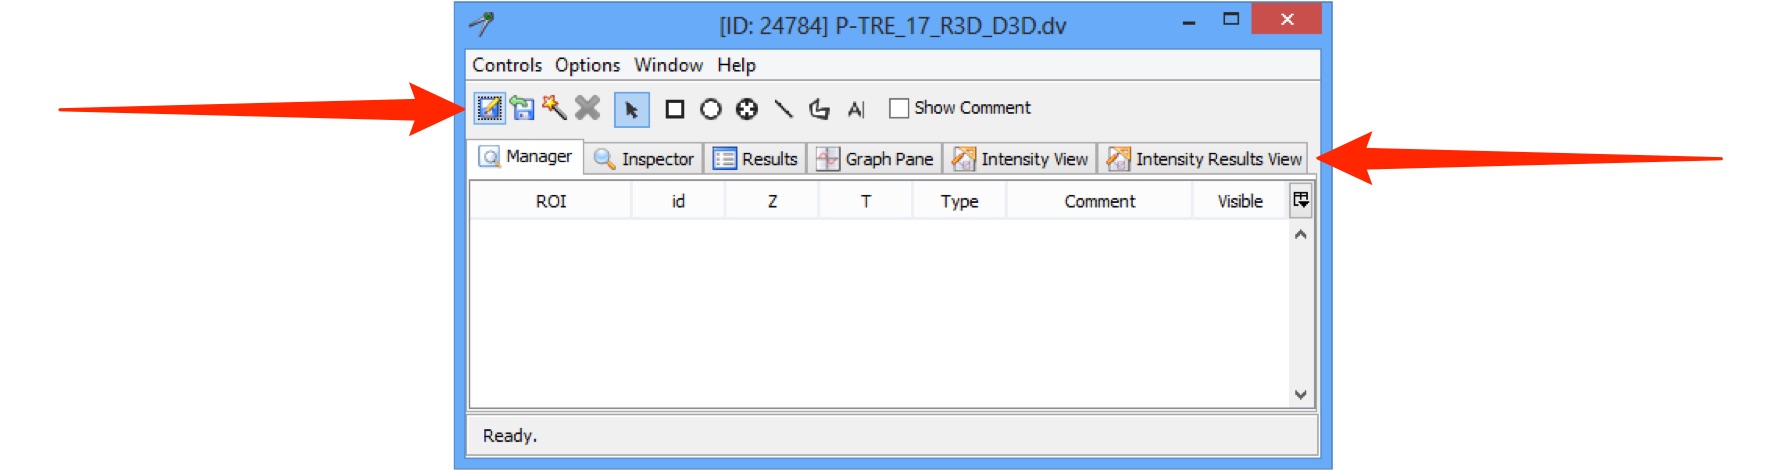
Click on Measurement Tool button to open the Measurement Tools palette.
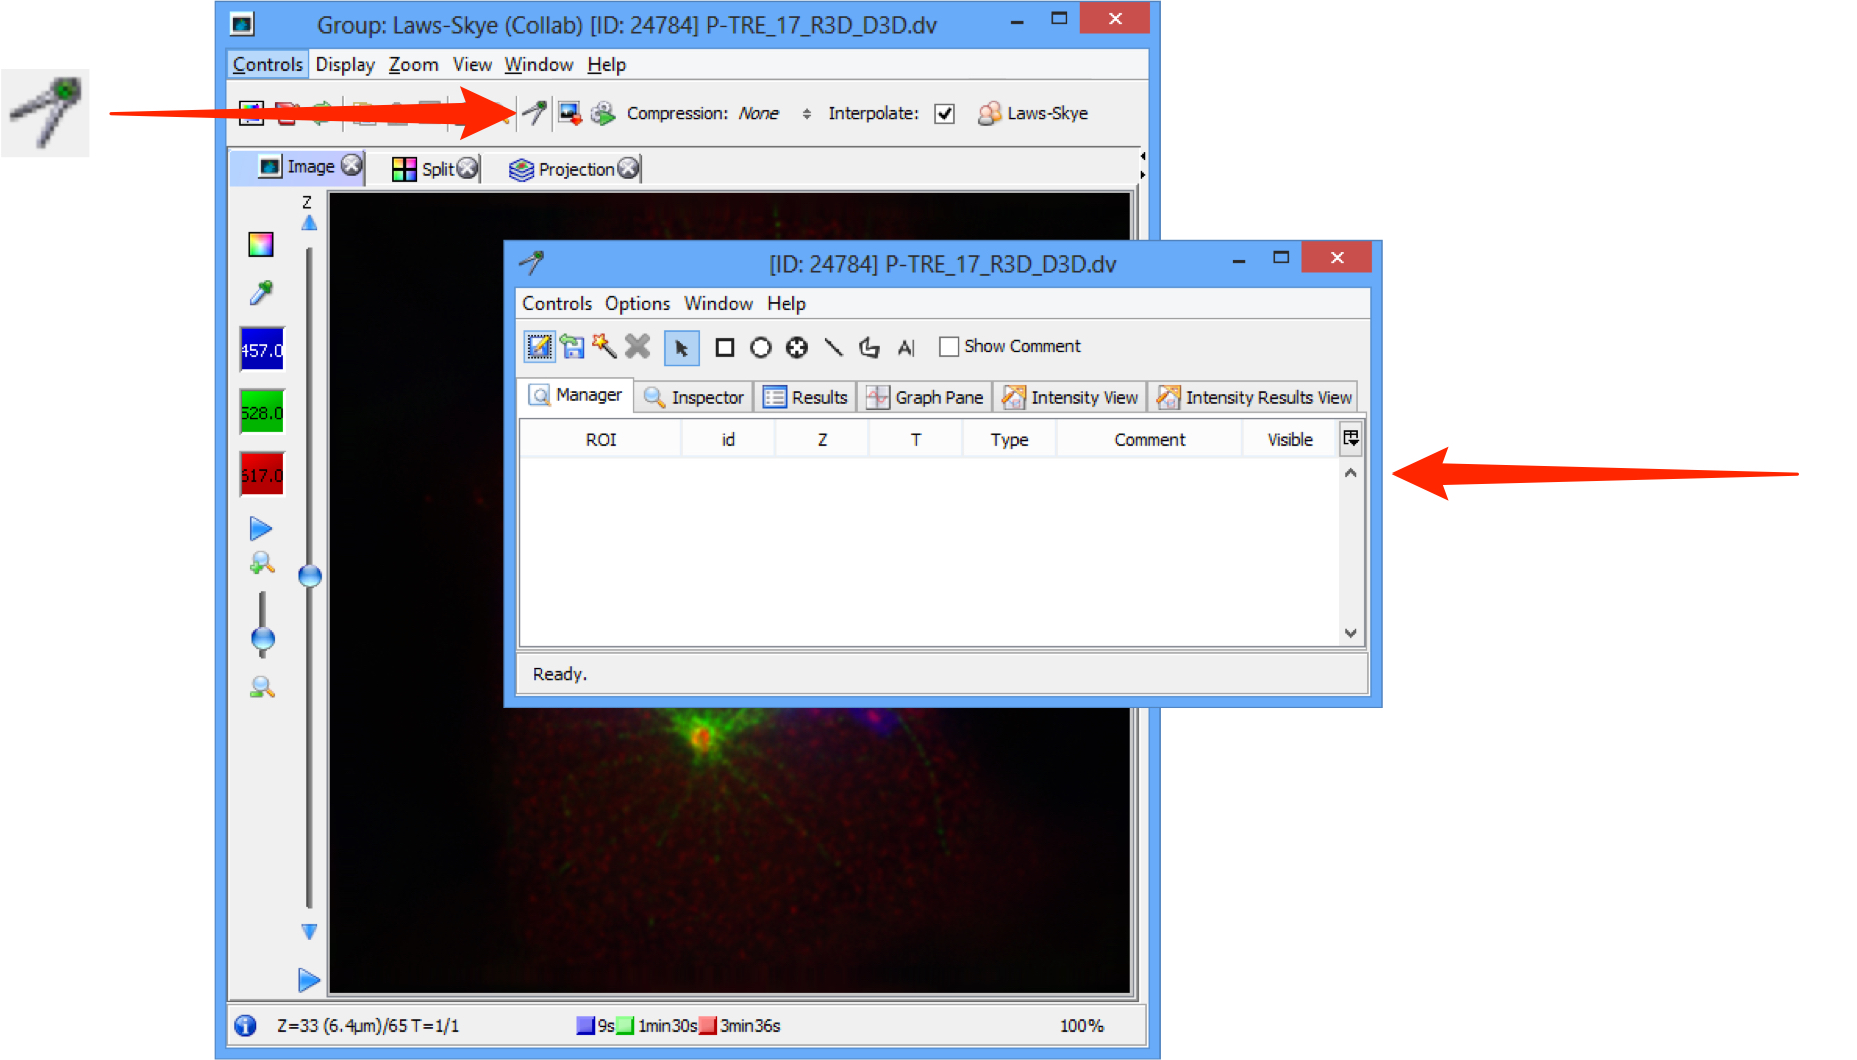
Use the toolbar to draw Regions of Interest (ROIs).
Click on the tabs to see details of ROIs or view results of analysis based on them.
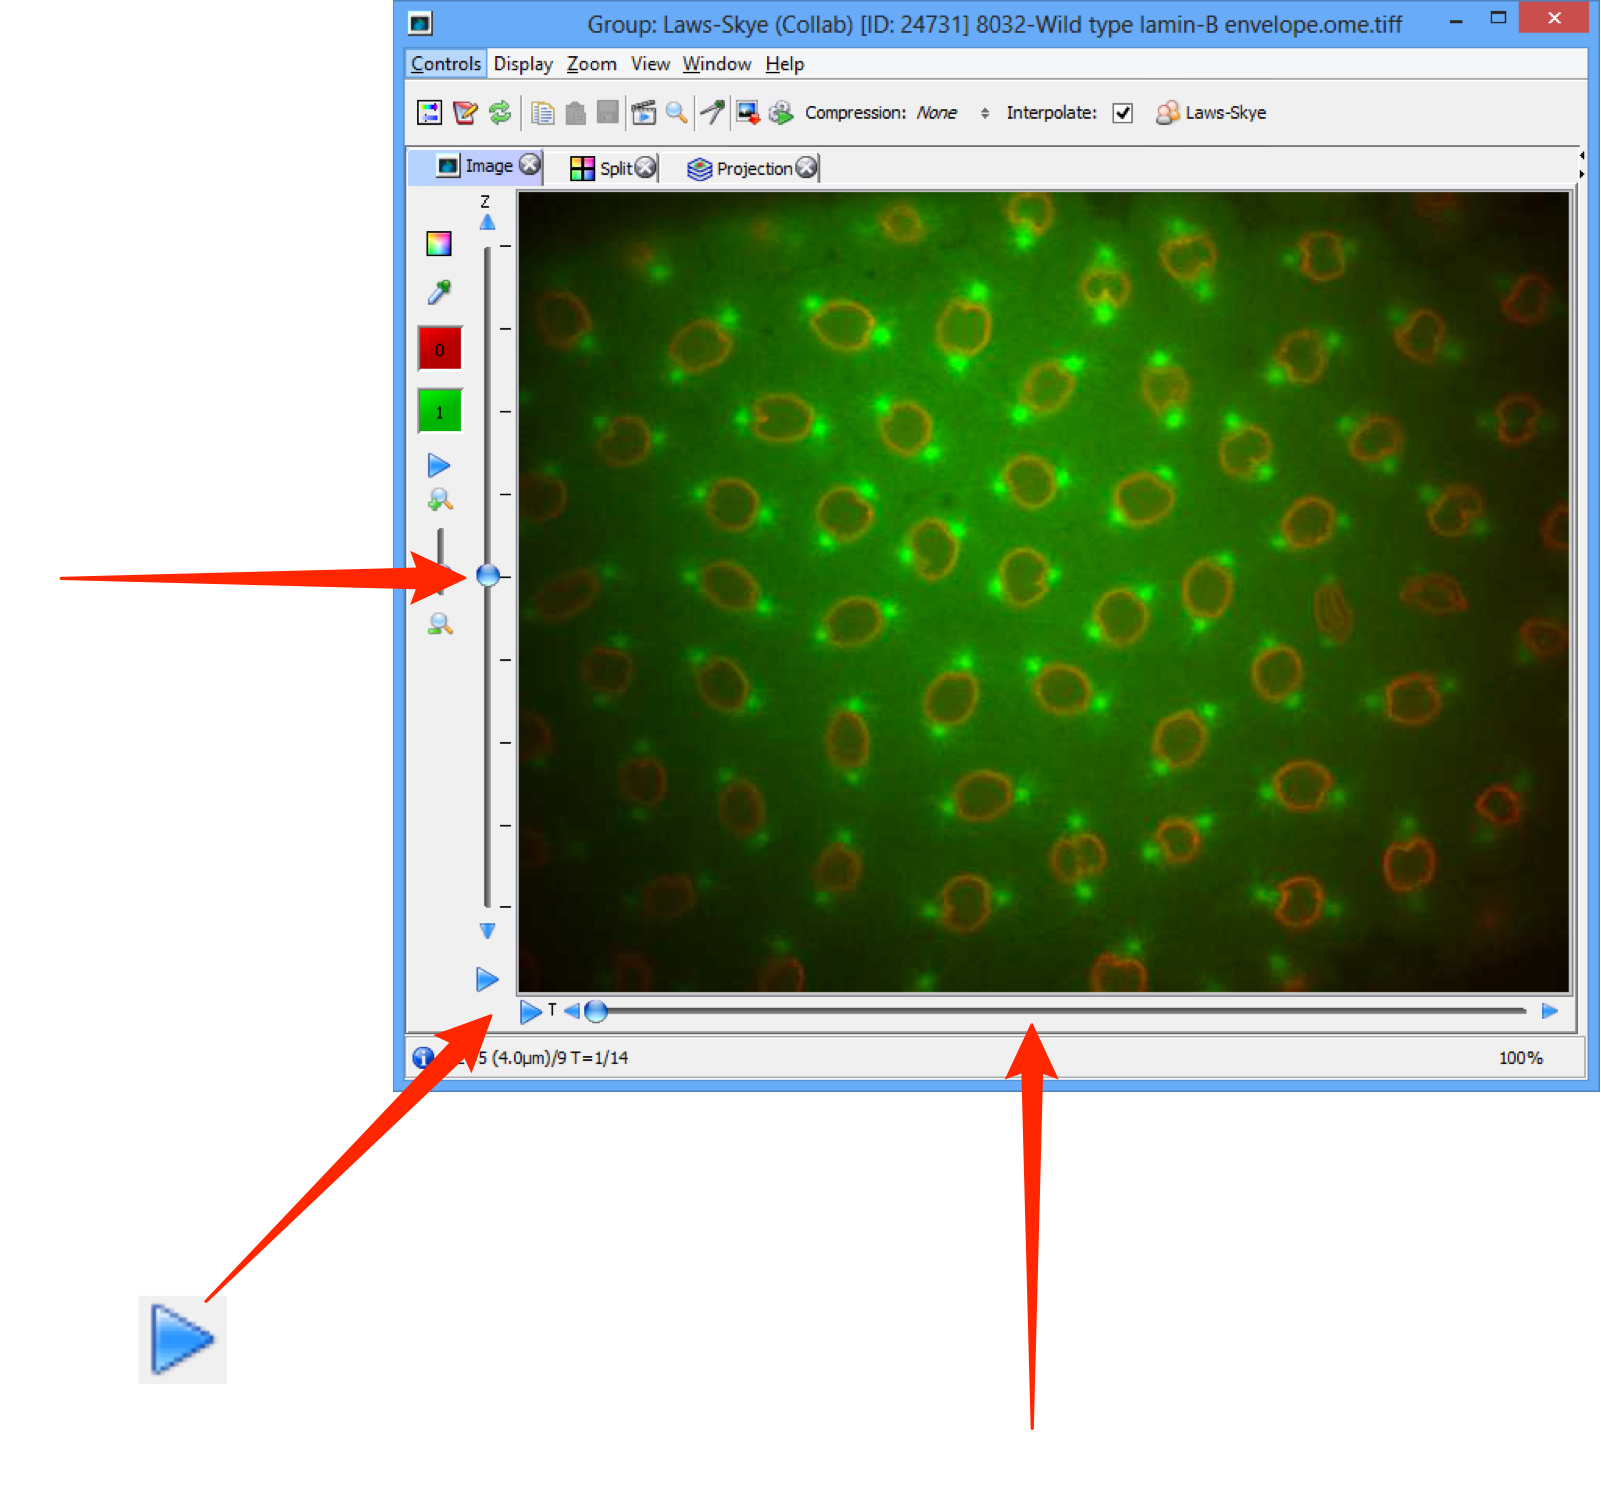
Use the sliders to step through Z-stacks and T-sequences or click the Play triangle to play through them as a sequence.
Using Java Web Start
Warning!
Due to the steady increase of issues not under OMERO's control, continued support of Java Web Start for distribution of OMERO.insight is not sustainable and is likely to become impossible in the near future.
Therefore Java Web Start for OMERO.insight has been removed from version 5.2.
Java Web Start is still available in OMERO version 5.1.4 and earlier, but has been deprecated and will no longer be supported.
If users have restrictions on their ability to install software on their computers, a version of the OMERO.insight client can be downloaded as a Java Web Start package via the OMERO.web client.
Using Java Web Start ensures you are always using an up-to-date version of OMERO.insight. For all practical purposes the Java Web Start OMERO.insight client is identical to the standard OMERO.insight client.
To access the OMERO.web client you will need a web address (URL) provided by your OMERO administrator.
Your username and password to log in is the same used for the OMERO.insight client.
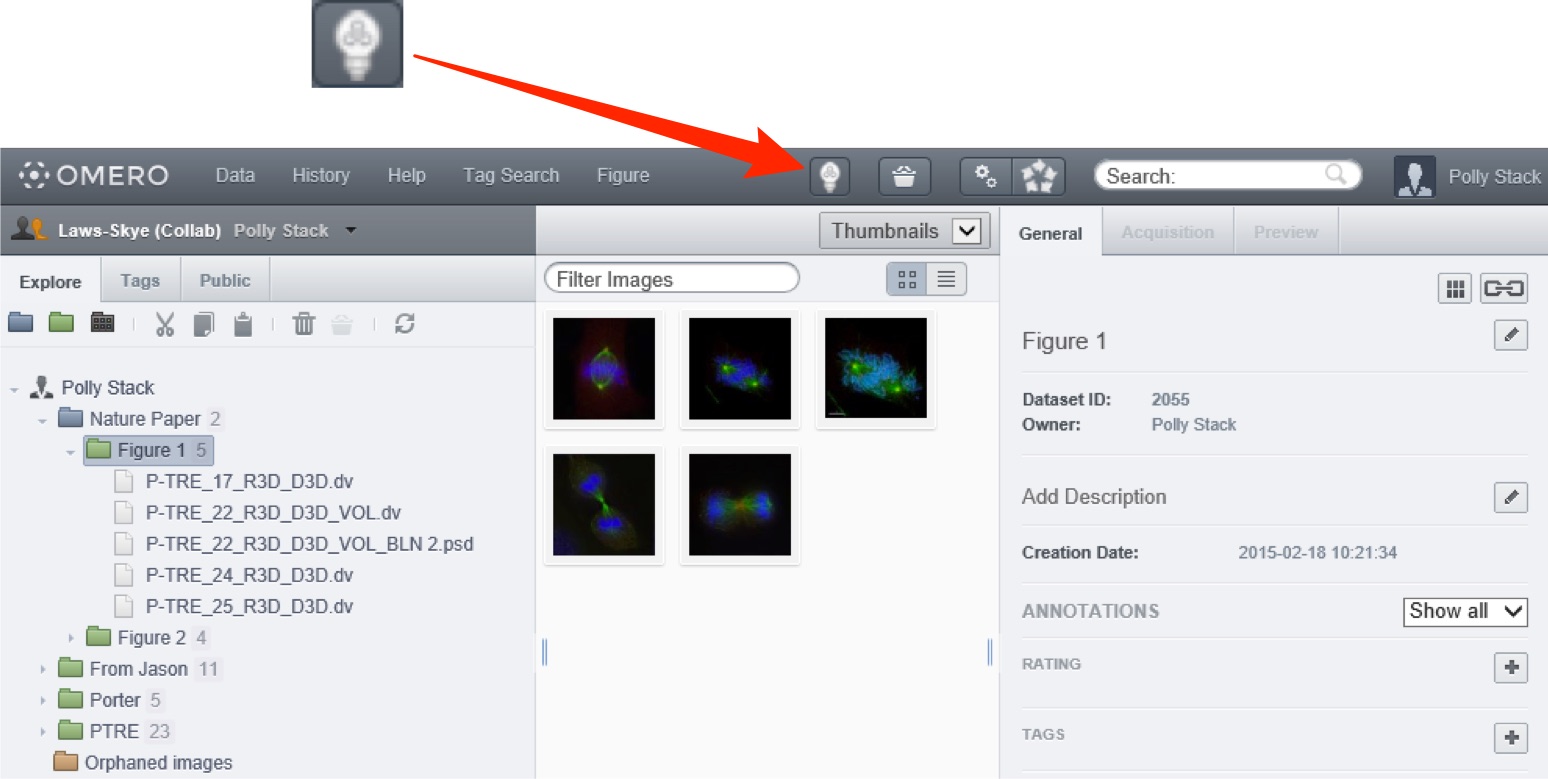
Click on the Java Web Start button.
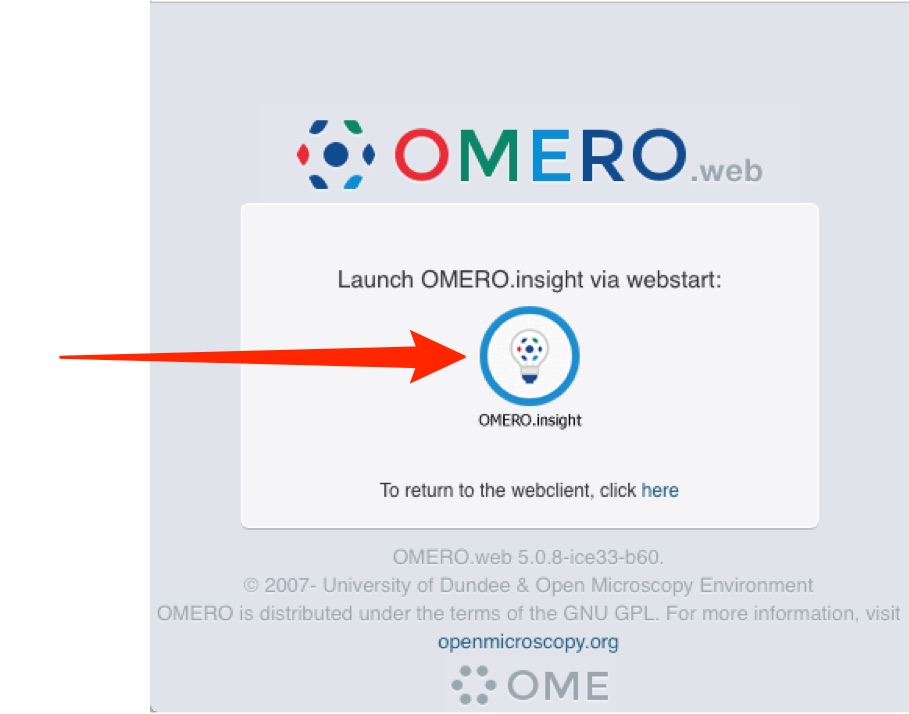
Click on the OMERO.insight link in the pop-up window.
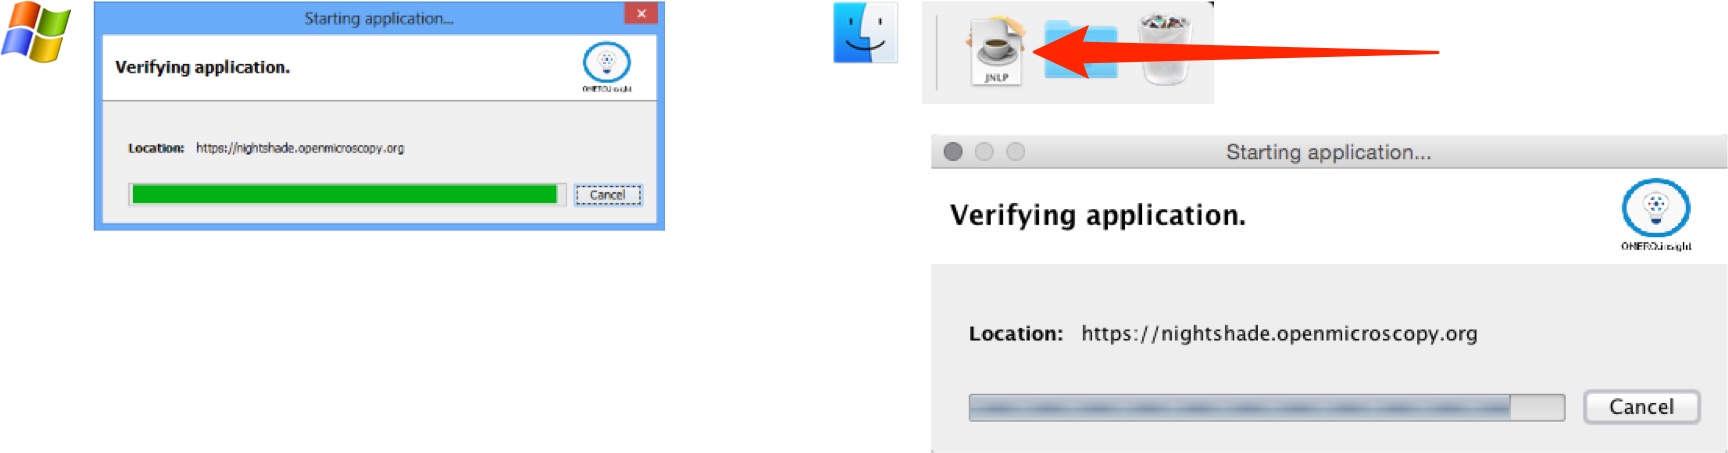
On Windows the Java package usually downloads and starts unzipping automatically.
On the Mac you may have to double-click the downloaded file to expand it.
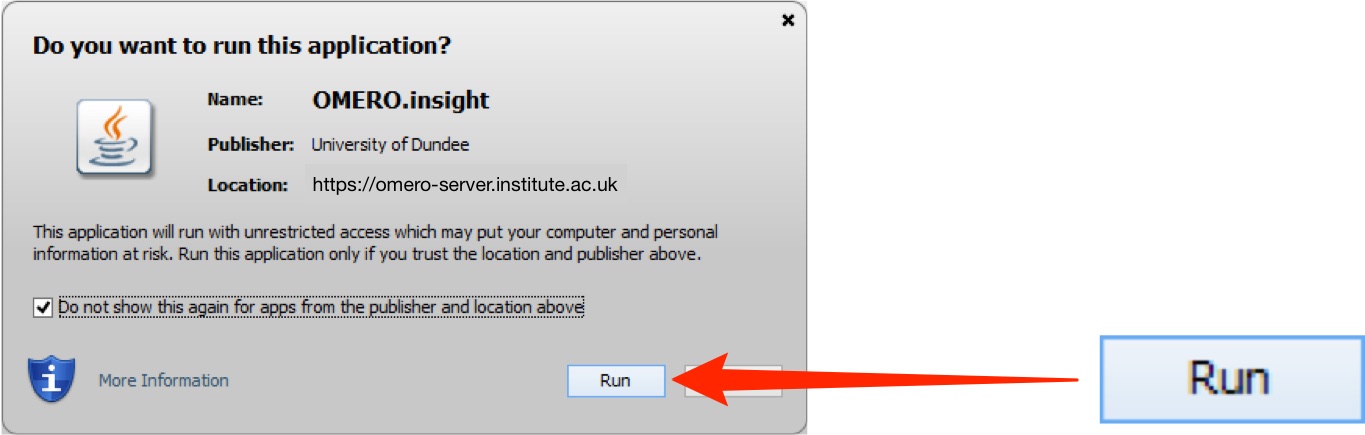
Click Run to open OMERO.insight.
The saved application is then used like any other programme.
All Tutorial Material is available on line at: help.openmicroscopy.org
The Main OME website is at: www.openmicroscopy.org